
Installation accessories / Application collection
Tile Leveling Systems
FIRST METAL supplies tile leveling systems and complementary installation accessories for professional tiling projects worldwide. Explore clips, wedges, applicator pliers and conventional joint spacers alongside our architectural tile finishing profiles.
Enquire about this collection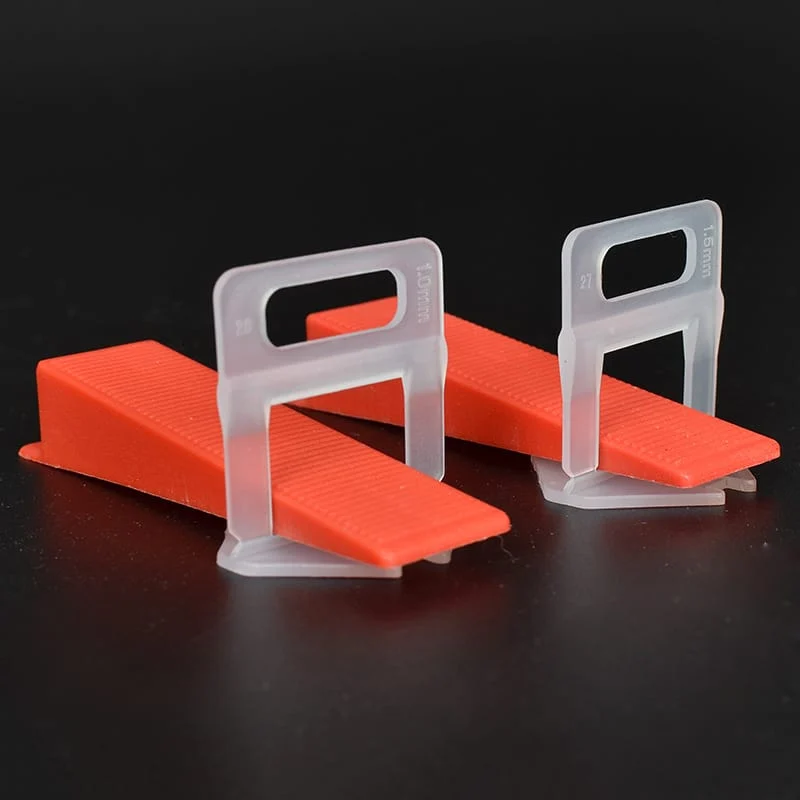
Components & selection
Choose the system.
Resolve the detail.
Clips and compatible wedges help align adjacent tile faces during installation. Applicator pliers adjust the selected system, while conventional spacers define tile joints. These are distinct functions: a joint spacer is not a leveling clip.
Typical applications
- Professional floor tiling
- Wall tiling with a suitable system
- Tile joint layout and adjacent-edge alignment
For a focused enquiry
Share the component family, tile dimensions and thickness, intended joint width, installation surface and estimated quantity. Component compatibility, technical specifications and packing options require confirmation.
Confirm the tile specification, component compatibility and approved installation instructions before selection.
Components for the installation
Tile installation product families
 Supplied product image
Installation accessory · Product family
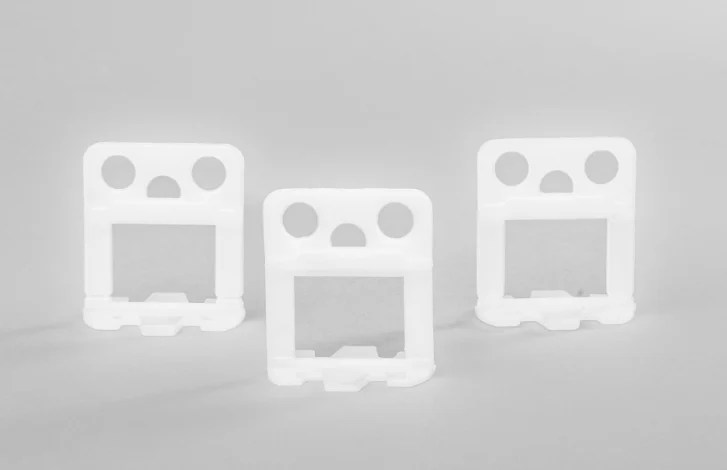
Tile Leveling Clips
Positioning and aligning adjacent tiles
 Supplied product image
Installation accessory · Product family
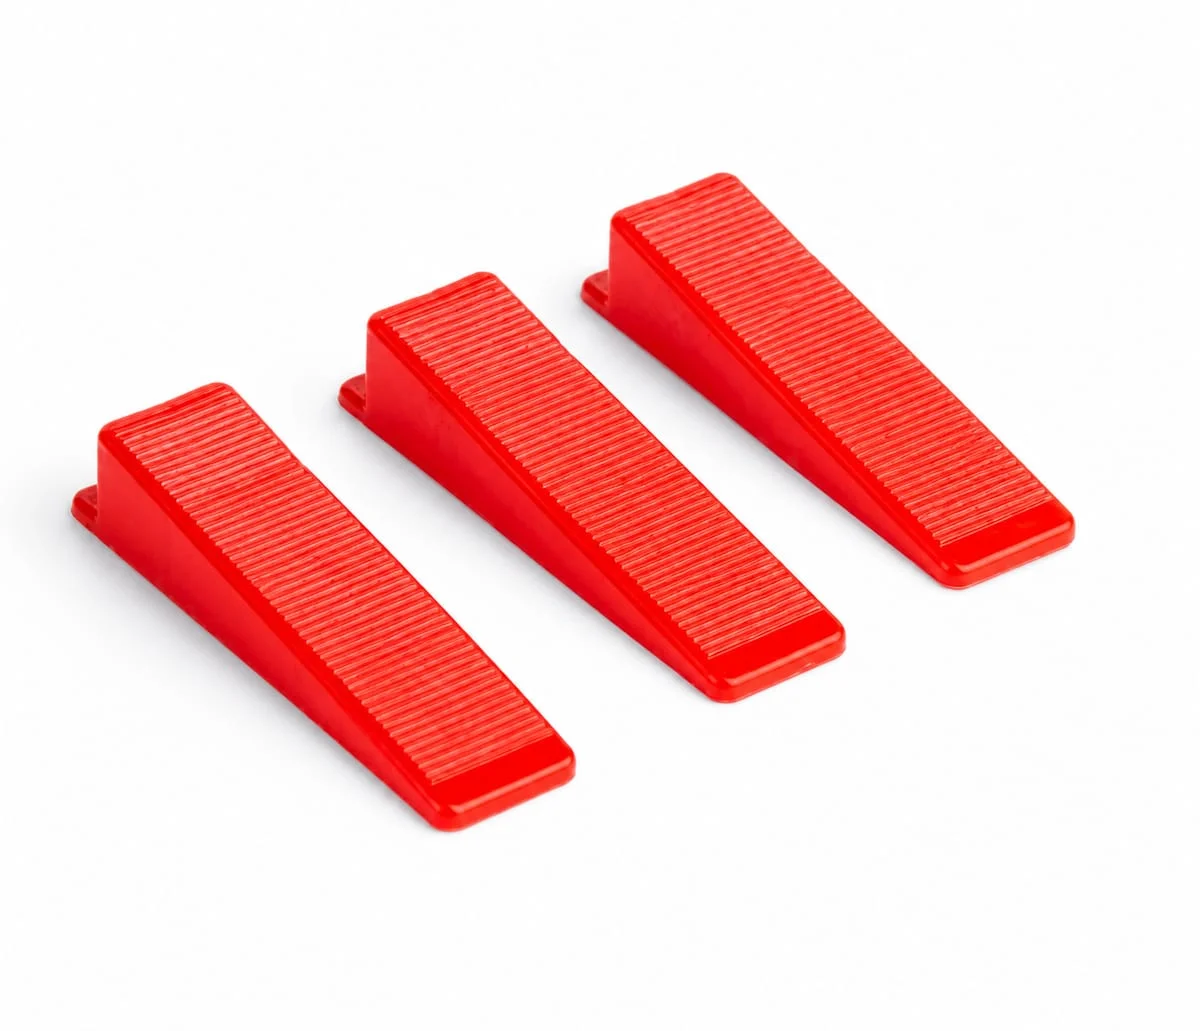
Tile Leveling Wedges
Adjusting compatible clip-and-wedge systems
 Supplied product image
Installation accessory · Product family
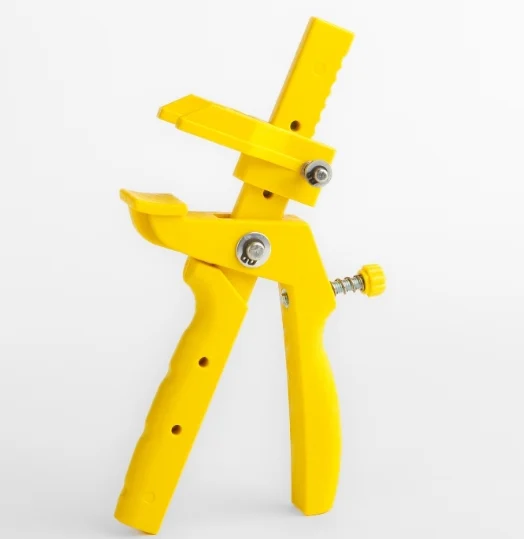
Tile Leveling Pliers
Controlled adjustment of a compatible leveling system
 Application illustration
Installation accessory · Product family
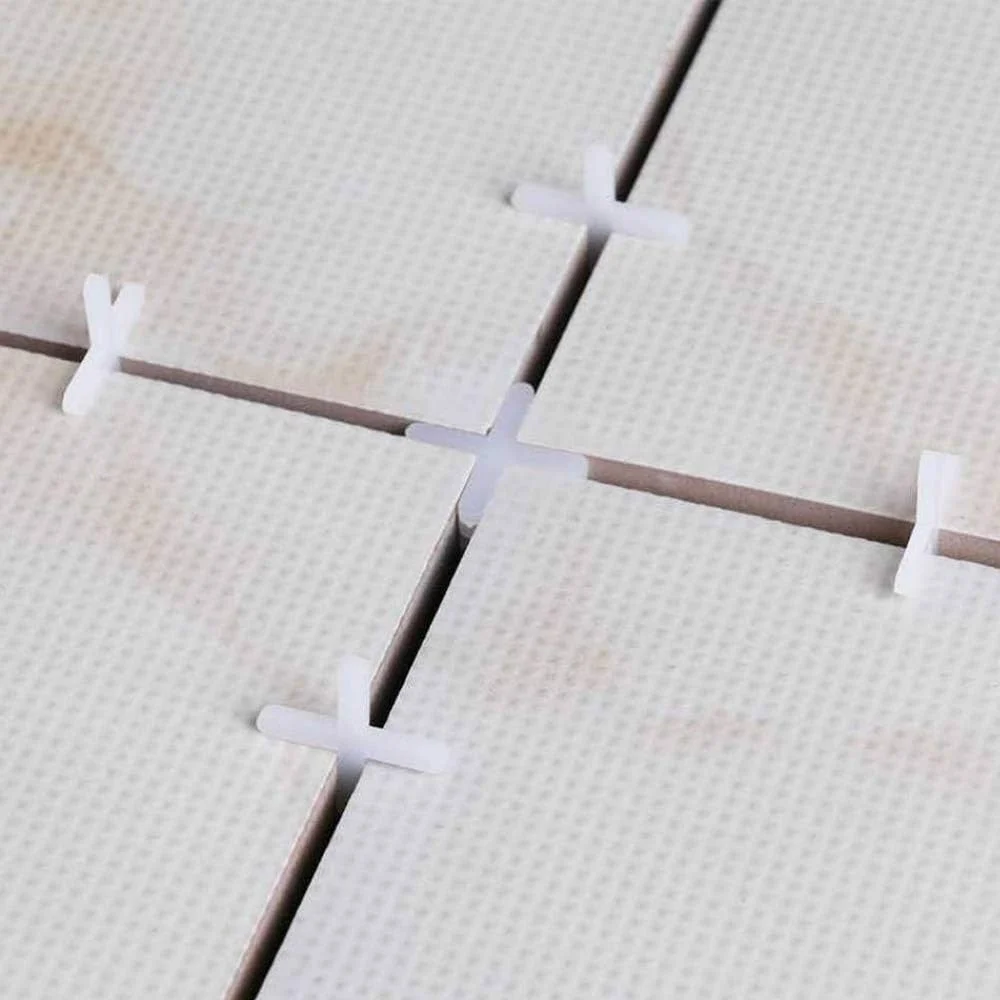
Tile Spacers
Maintaining the intended tile joint layout
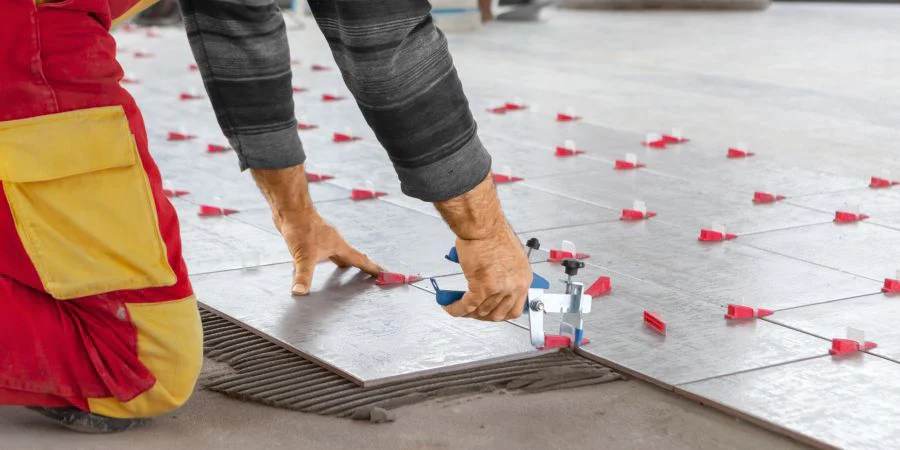
From components to installation
Precision Starts Beneath the Surface.
Discover tile leveling components designed to support consistent tile positioning and efficient installation across professional tiling projects.
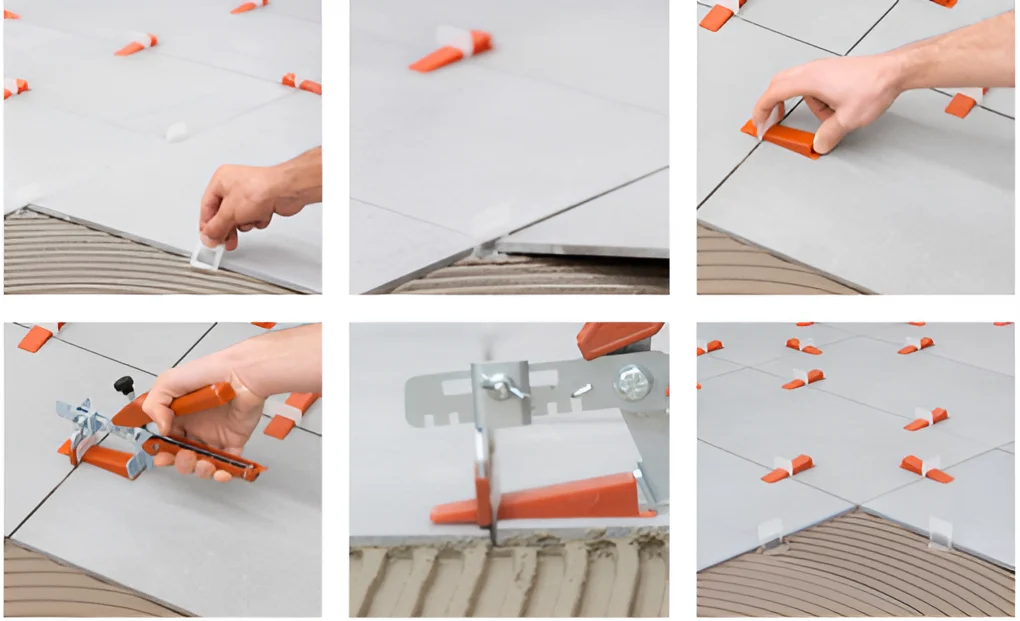
Prepare the installation surface
Check the substrate and prepare the installation materials according to the tile, adhesive and system instructions. Leveling components do not replace substrate preparation.
Position the appropriate clips
Place the specified clip bases beneath the tile edges as required by the selected system. Confirm the clip size and layout for the project.
Place adjacent tiles
Set adjoining tiles and establish the intended joint layout. Check alignment and adhesive support in accordance with the installation specification.
Insert compatible wedges
Introduce the matching wedges through the clip openings. The product references do not establish compatibility between all illustrated components.
Adjust the leveling system
Use the approved applicator and adjustment method for that system. Follow its limits rather than assuming a universal force setting.
Remove clips as instructed
Remove the exposed clip sections only at the stage and in the manner specified by the verified product and adhesive instructions. Confirm joint preparation before grouting.
General educational overview, not product-specific installation instructions. Tile lippage prevention also depends on substrate preparation, tile characteristics, adhesive and workmanship. Confirm compatibility, placement, adjustment and removal with the verified product instructions; no universal measurements or curing times are implied.
Discuss the system for your installationRelated installation accessories
Tile Leveling Accessories
Choose an appropriate applicator for the selected system and conventional spacers for the intended joint layout. These are the verified accessory families in this collection; further requirements can be discussed with your enquiry.
Complementary collections
Complete Your Installation
Coordinate tile installation components with the finishing detail. Select each product for its own role; these links do not imply system compatibility.
 Technical illustration
Interiors
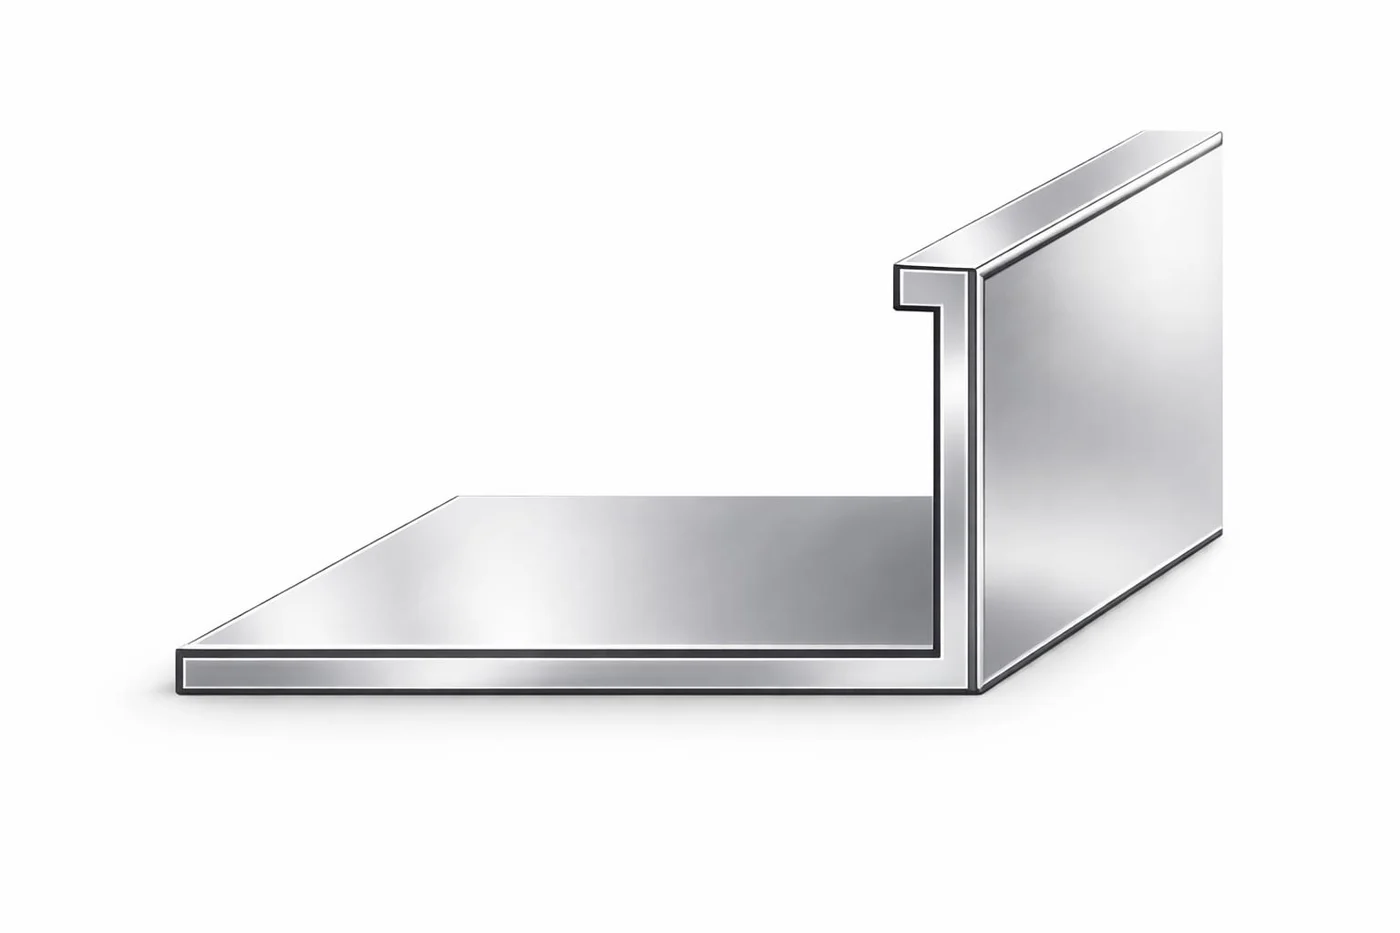
Tile Finishing Profiles
A precise finishing line for every tiled surface.
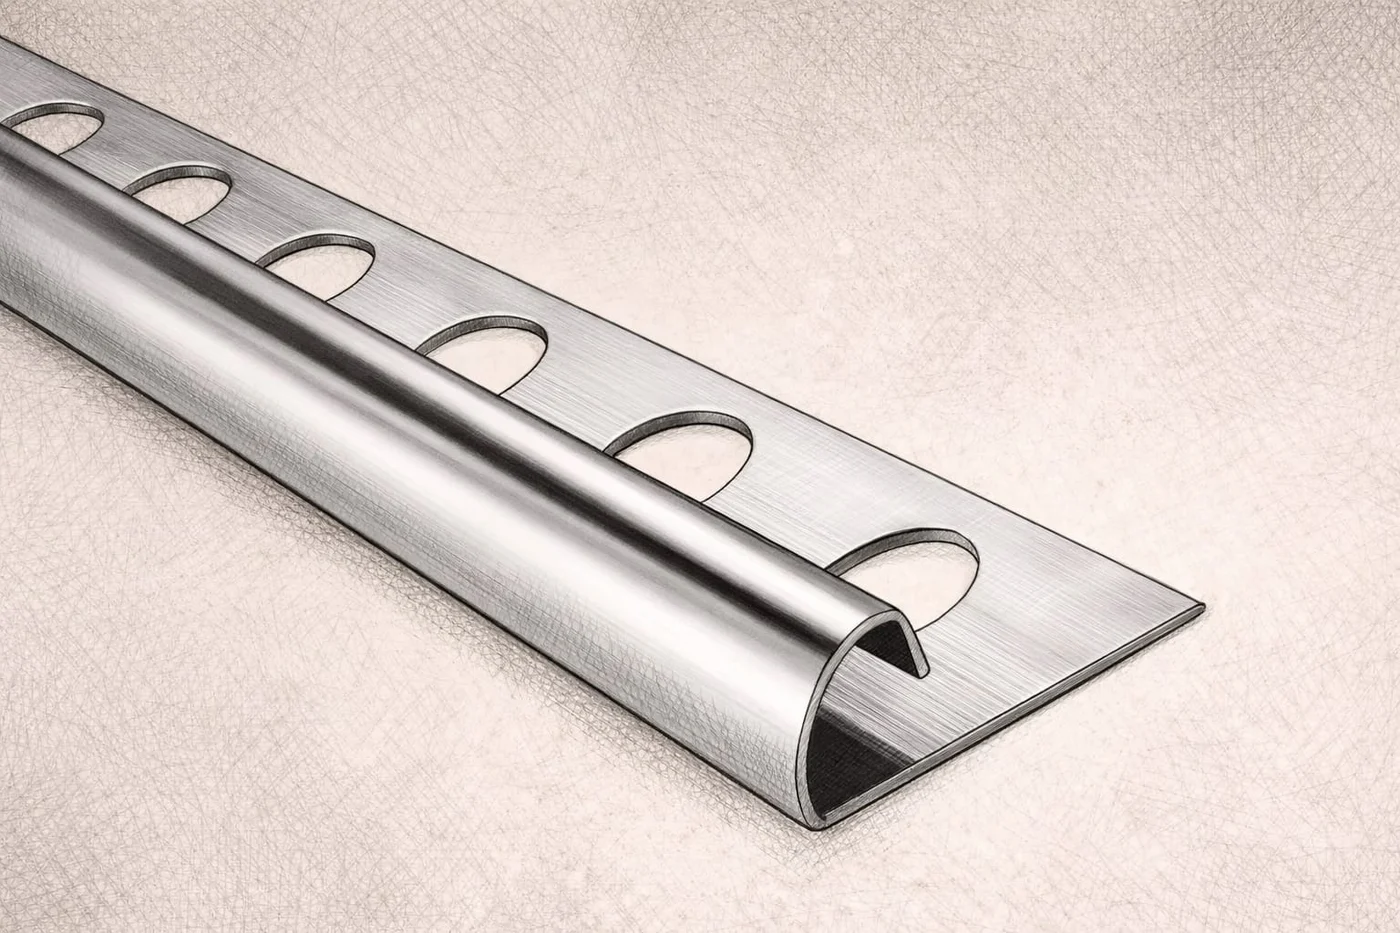 Technical illustration
Specialist
Stainless Steel Profiles
Defined edges. Considered architectural details.
For stainless tile edges, compare straight-edge and round-edge profiles.
Let’s shape your next project
The right components.
A considered installation.
Tell us about your tile installation. We will help identify the component and compatibility details needed for a focused enquiry.
Request a quote