
Selection guide · 3 min read
How to Choose the Right Aluminium Tile Trim
Choose aluminium tile trim by tile build-up, visible edge, anchoring detail and environment. Prepare the right information for a specification enquiry.
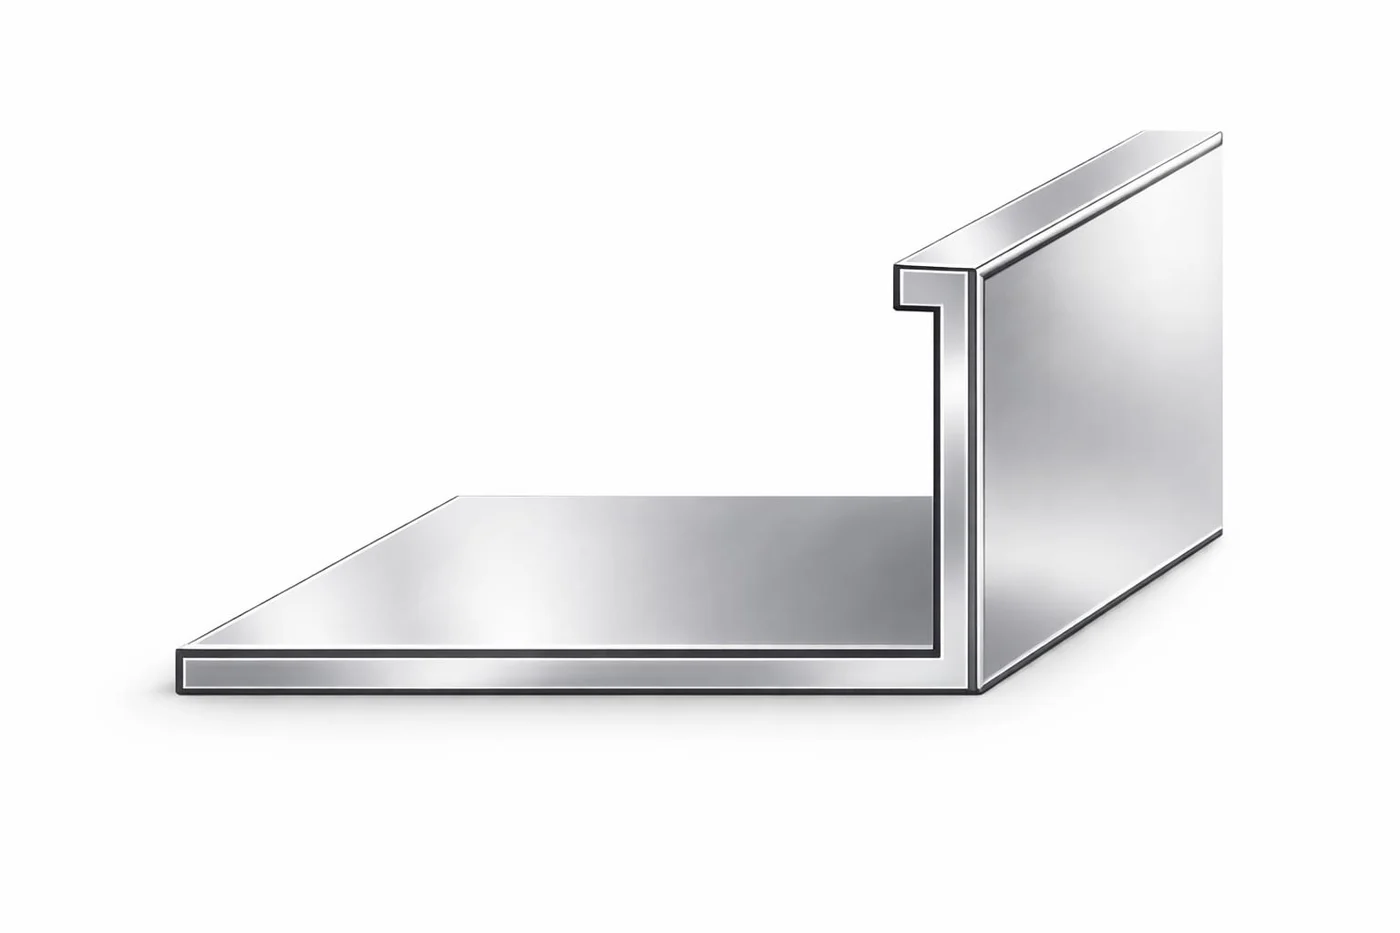
A tile trim should resolve an exposed edge while fitting the actual tile assembly. Start with the junction and its section drawing, then select the visible shape and finish. Choosing a colour first can leave an unsuitable anchoring detail or an awkward meeting point with the adjacent surface.
For a contractor, the useful output is a buildable detail. For a distributor, it is a clear distinction between families that look similar in a catalogue but serve different installation conditions.
Start with the junction
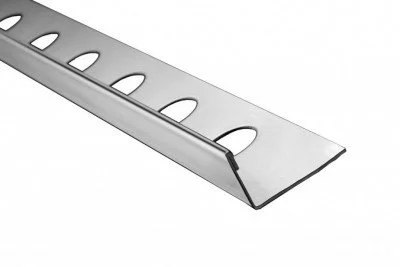
Identify whether the profile finishes a wall edge, an external corner, a floor perimeter or a junction with a different covering. Draw both adjoining surfaces and show which parts remain visible. A perforated anchoring leg belongs within a suitable tiled build-up; a plain angle cover is a different installation proposition. In the FIRST METAL catalogue, Straight Edge Tile Trim, rounded trims and Square Edge Tile Trim provide separate starting points. Compare the section rather than relying only on the front photograph.
Check the installed height
Measure the actual tile sample and review the setting-material build-up with the installer. The relevant relationship is between the finished tile surface and the profile edge, rather than the nominal tile thickness in isolation. Schlüter's sizing guidance also considers setting material, particularly where a tile installation needs additional build-up. Confirm the selected FIRST METAL section against a sample assembly; do not assume a competitor's recommended offset or joint dimension applies to it.
Technical reference: Schlüter-Systems: choosing a profile size
Choose the visible edge deliberately
A straight edge creates a restrained line. A rounded edge changes the corner silhouette, while a square-edged head produces a more defined border. Review each option next to the tile, grout and adjoining fittings. Check the direction of the return at corners and the termination at doors or niches. For a repeated room type, prepare one approved corner sample and identify its profile reference on the room schedule so later orders do not substitute a different head shape.
Select material and finish together
Record whether the detail is dry, regularly wet, exposed to cleaning products or subject to contact from equipment. Appearance alone does not establish suitability. A brushed or polished surface name describes an appearance, while the selected material and finish specification determine the supplied product. Ask for a physical sample in the proposed finish and agree which faces are visible. Use the aluminium-versus-stainless guide when the environment requires a broader material review.
Prepare the installation and purchasing brief
Before cutting, check the received section against the approved sample and dry-fit a representative junction. Use the selected system's instructions for adhesive, joints, corner treatment and cleaning. Keep finished faces protected during handling, and check that any protection can be removed at the specified stage. After handover, pass the finish-specific care instructions to the maintenance team. A good purchase brief makes these decisions traceable instead of leaving them to a late site adjustment.
- Tile sample and installed build-up drawing.
- Profile family, visible edge and corner/termination arrangement.
- Environment, cleaning regime and approved physical finish sample.
- Run lengths, quantities and required accessories; confirm supply lengths separately.
Frequently asked questions
Should tile trim height always equal tile thickness?
Tile thickness is a starting point. The installed build-up and selected profile detail must also be checked. Confirm the finished relationship with the actual tile and the chosen system's instructions.
Can I replace an anchored tile trim with a plain L profile?
Only after reviewing the fixing and coverage detail. A plain corner cover and a profile embedded beneath tile use different geometries and installation approaches.
Discuss your project detail
Send the profile reference, application, drawings and quantity requirements. Include the points from this guide that need confirmation for your project.
Technical references and scope
Product-specific information comes from the linked FIRST METAL catalogue records. External manufacturer examples explain principles; their dimensions, ratings and compatibility are not transferred to FIRST METAL products.
- Schlüter-Systems: choosing a profile size
Tile thickness and setting-material build-up inform height selection. No dimensions transferred to our products.
Products for this detail
Straight Edge Tile Trim
An L-shaped tile finishing section with an anchoring leg and a straight visible edge. Use the reference to discuss exposed ceramic tile edges and end-corner details.
Enquire about this product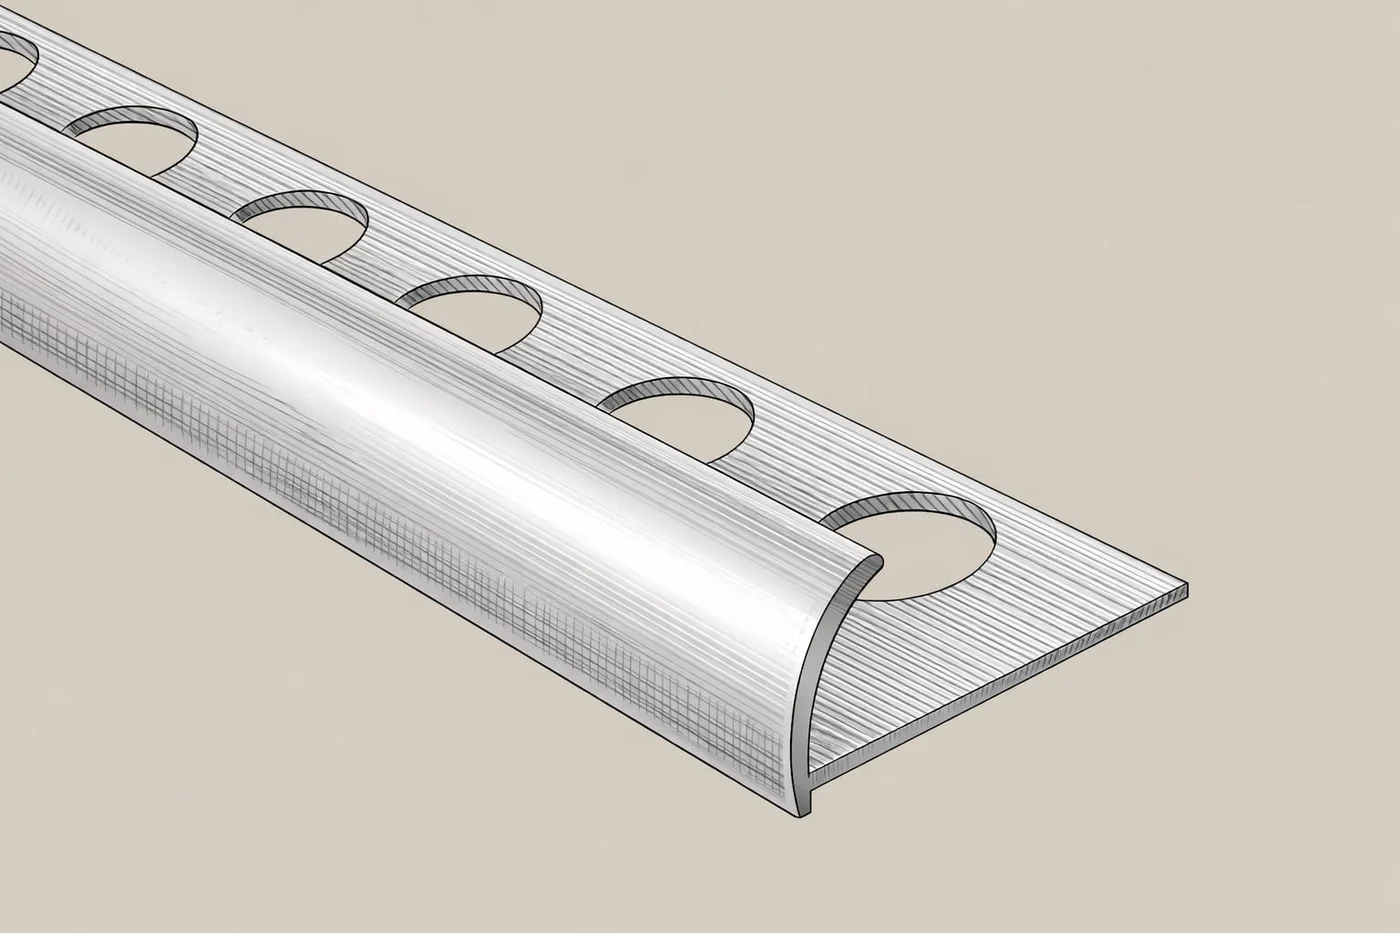
Round Edge Tile Trim
A rounded tile-edge reference with an anchoring flange. The curved visible face offers a softer outline at exposed returns.
Enquire about this product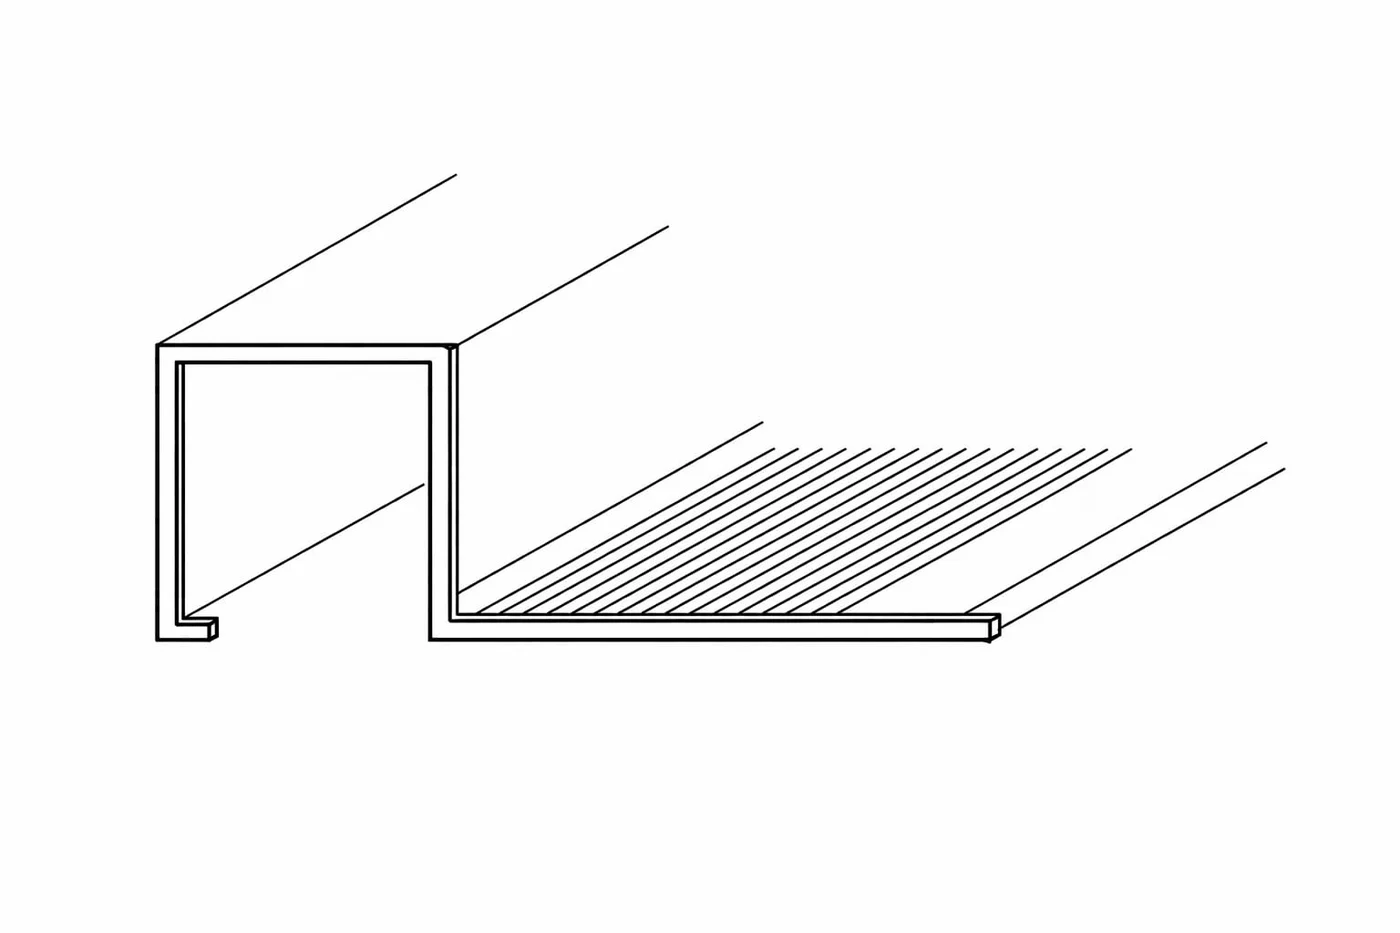
Square Edge Tile Trim
A square-headed tile trim with a square visible head and anchoring flange. This family is distinct from a standard rectangular hollow section.
Enquire about this productContinue reading
Selection guide · 3 min read
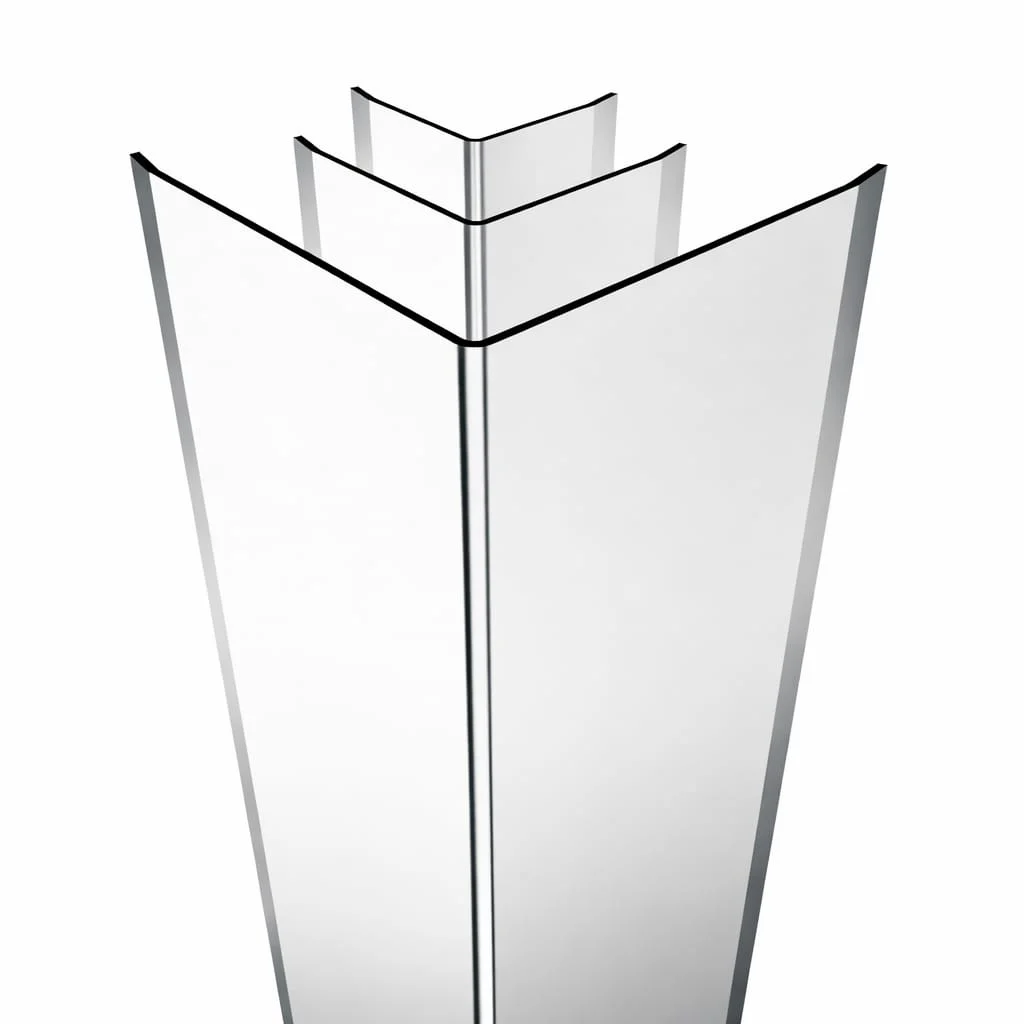
Choosing Profiles for Wall Corners and Edge Protection
Distinguish plain L corner covers, anchored tile trims and stainless corner protection. Check coverage, fixing and the finished corner before ordering.
Comparison · 3 min read
Aluminium vs Stainless Steel Profiles
Compare aluminium and stainless steel architectural profiles through application, exposure, finish and specification requirements rather than appearance alone.
Technical guide · 3 min read
Understanding Architectural Aluminium Profile Shapes
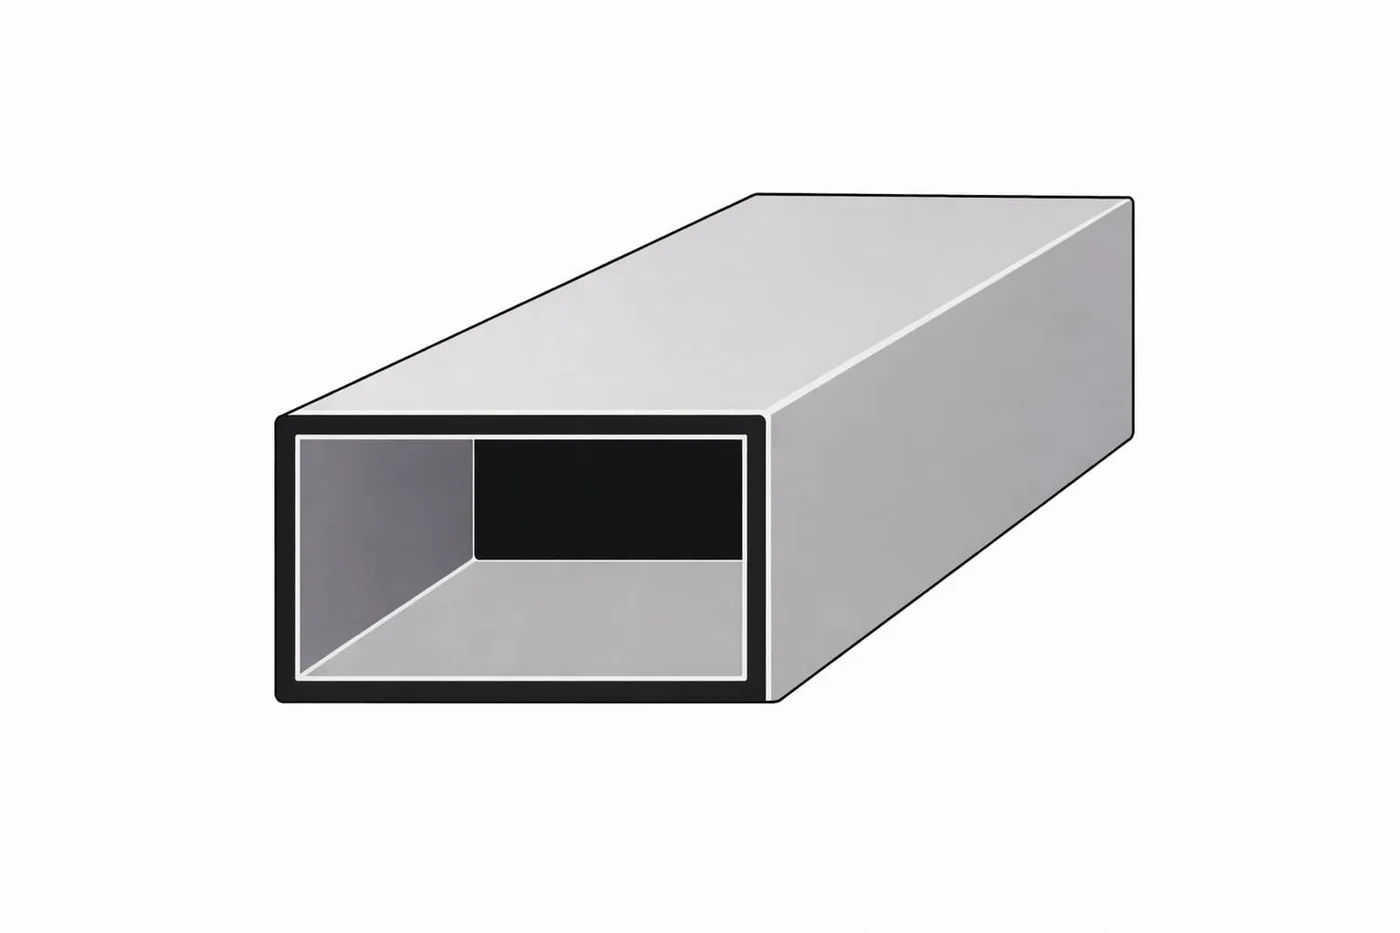
Read L, T, flat, box and round-tube aluminium sections correctly. Separate general profile geometry from tile-trim and architectural application details.